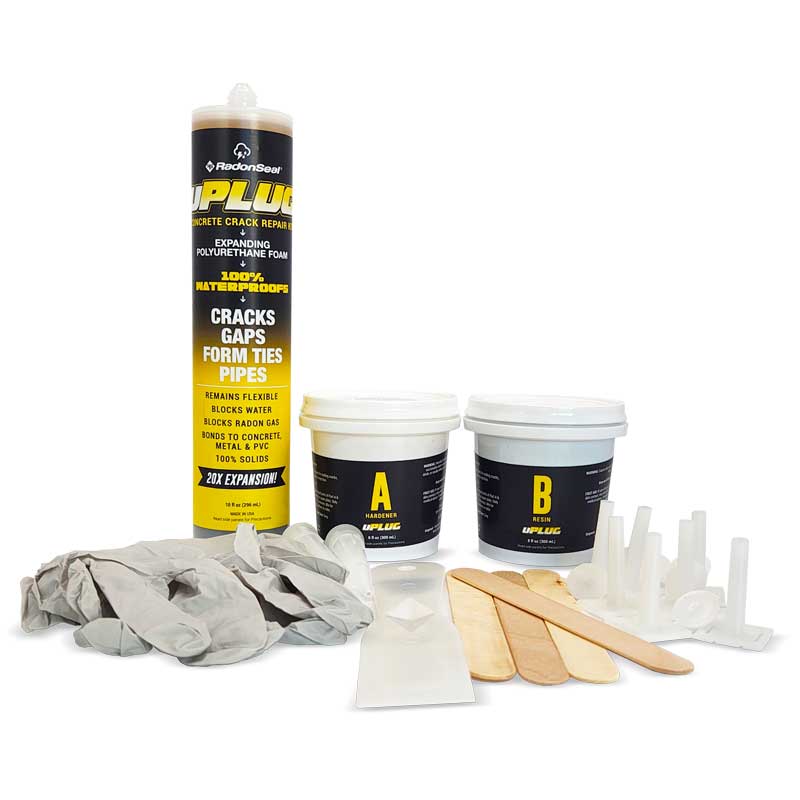
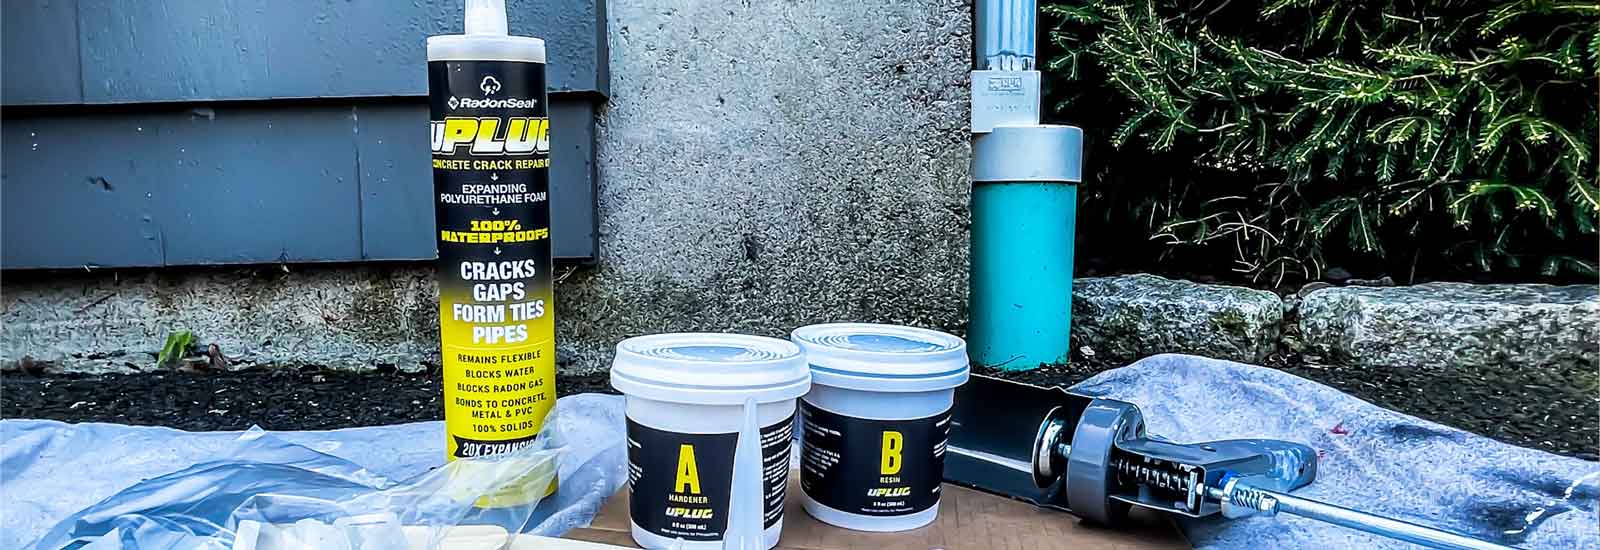
uPLUG™ Concrete Crack Repair Kit is for filling and waterproofing cracks in poured concrete, leaking tie rods, and pipe perforations.
Kit Contents
5-ft Kit
1 x Urethane Injection Cartridge
1 x Set of Surface Seal Jars (A+B) and Plastic Putty Knife.
7 x Injection Ports and Caps
2 x Cartridge Nozzles/Tips
2 x Nitrile Gloves
4 x Mixing Sticks

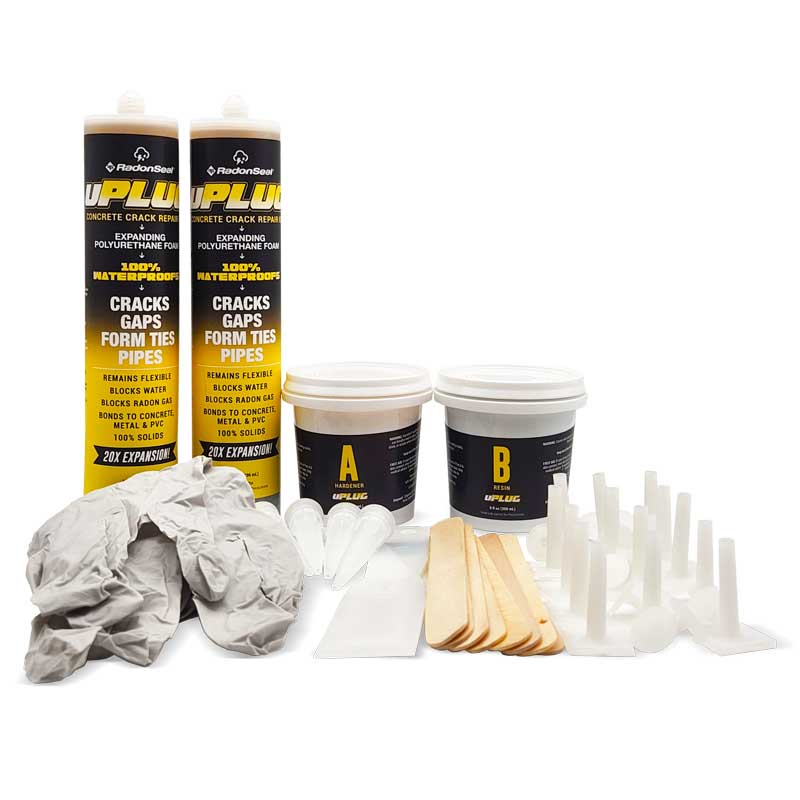
10-ft Kit
2 x Urethane Injection Cartridges
1 x Set of Surface Seal Jars (A+B) and Plastic Putty Knife.
14 x Injection Ports and Caps
4 x Cartridge Nozzles/Tips
4 x Nitrile Gloves
8 x Mixing Sticks

I. Repairing Cracks In Poured Concrete Walls
II. Repairing Wire Ties
III. Repairing Pipe Perforations
I. Repairing Crack In Poured Concrete Walls
Surface Preparation
• Place a tarp, plastic sheeting, or drop cloth, on the floor in the immediate work area.
• Remove any loose concrete, dirt, paint, or efflorescence, roughly 1-2 inches on either side of the crack.
• SURFACES MUST BE DRY for the surface sealer to cure. If the area to be repaired is wet use a hair dryer/heating gun or oil-free compressed air to dry.
Surface Port Placement
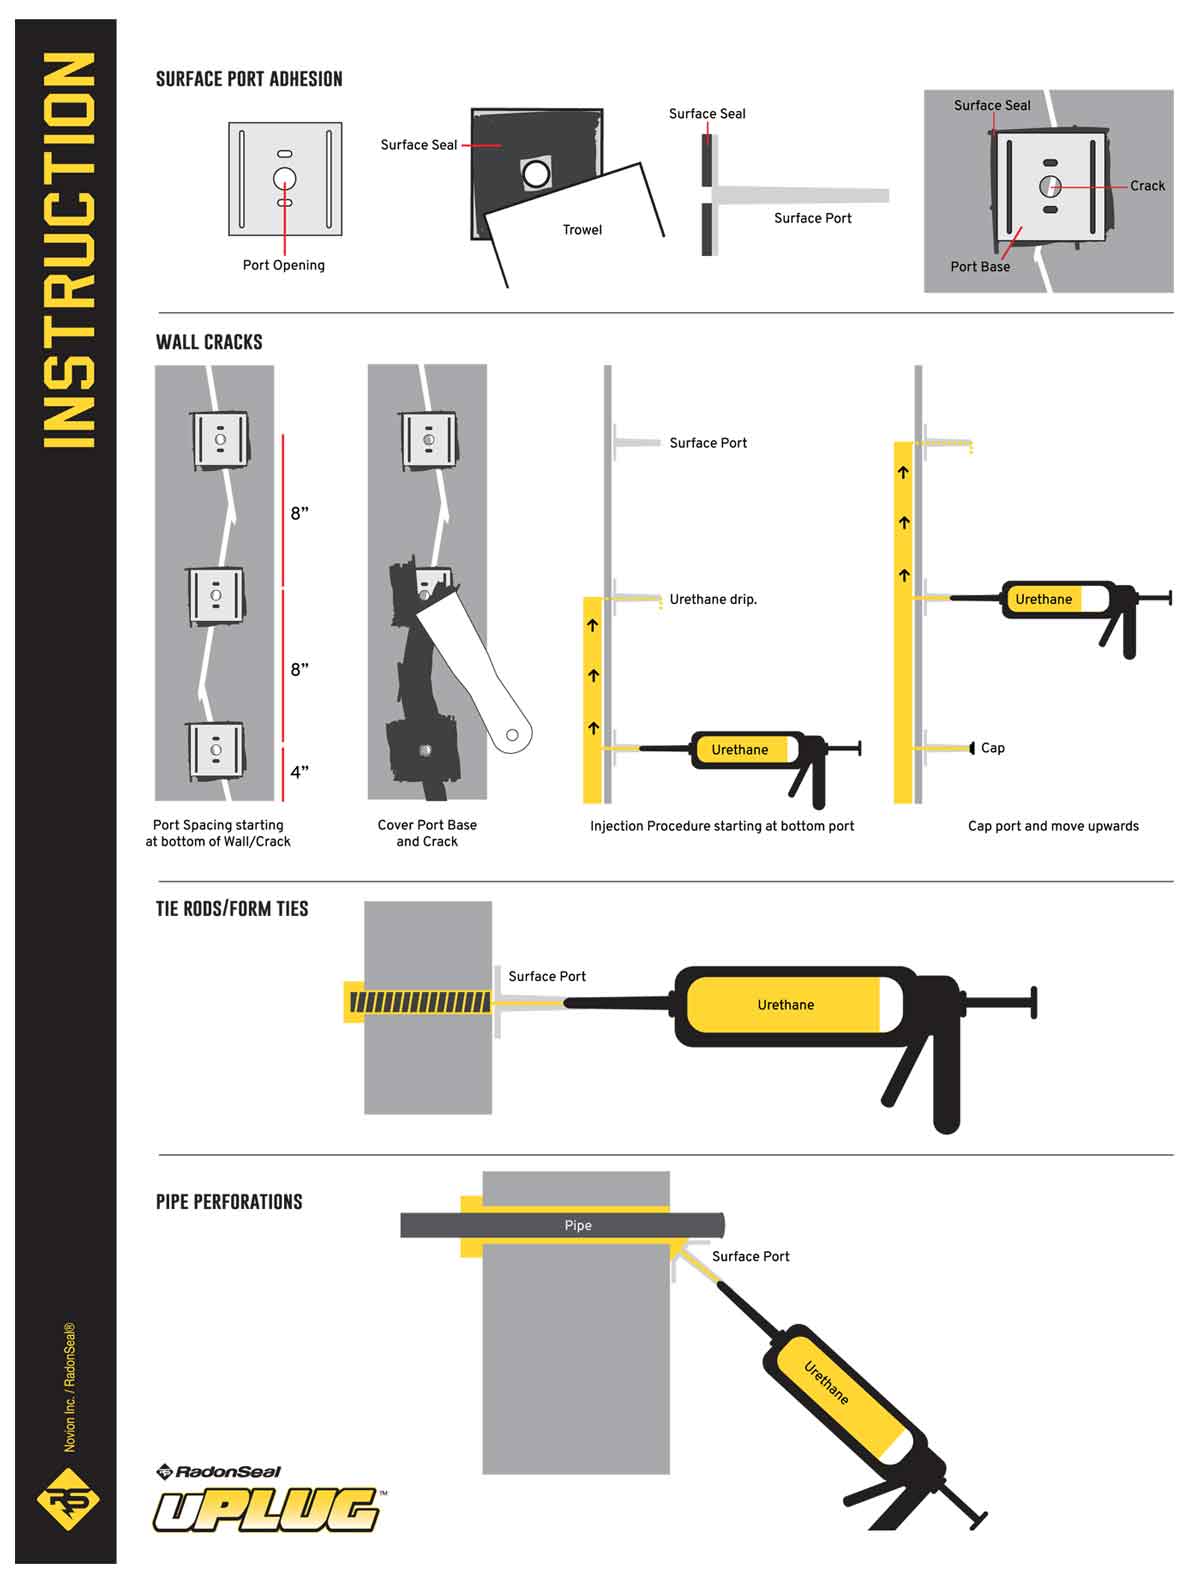
• Injection ports should be affixed to the wall roughly 8-inches apart and be centered over the crack.
• Place a mark on the wall roughly 4-inches above the lowest end of the crack (4-inches above the floor if the crack extends below the floor/slab). Follow the crack and place a mark every 8-inches.
• Using separate mixing sticks, remove equal parts of surface seal Part A & Part B from jars onto a piece of cardboard, scrap wood, or paper plate. Only remove enough material that can be spread in 2–3 minutes. Mix for 30-seconds with the trowel, until the epoxy is uniform in color.
• Spread the surface sealer onto the base of the port using the trowel. DO NOT BLOCK OPENING OF PORT. Place the port onto the wall, centered over the crack, cover the base with additional surface sealer to hold it in place. Attach additional ports until a port has been placed at each of the marks.
• Allow the surface ports to “set” for roughly 10-minutes, and then mix additional epoxy to completely cover the crack opening. Be sure to cover the entire crack. Properly applied surface sealer should be 1/8” thick and extend roughly 1-inch to either side of the crack.
• Do not push the surface sealer into the crack – just cover the surface.
• Allow the surface sealer epoxy to cure for 30-60 minutes. Once the epoxy is “fingernail hard”, the injection process can begin.
Injection Procedure
• Place the urethane injection cartridge in your caulking gun. Cut off the tip of the cartridge with a utility knife.
• Screw the injection nozzle onto the threaded portion of the cartridge.
• Insert the cartridge nozzle directly into the lowest port. If the crack is horizontal, begin at either side.
• USING LOW PRESSURE, start injecting foam. Continue injecting slowly until urethane can be seen coming from the port above.
• Cap the port and move to the next port, working your way to the top/end of the crack.
• After expansion of the foam is complete (3-4-hours), knock off the ports and remove the surface seal with a chisel or grinder.

II. Repairing Tie Rods/Form Ties
Surface Preparation
• Place a tarp, plastic sheeting, or drop cloth, on the floor in the immediate work area.
• If required, hammer, chisel, or grind any protruding portion of the tie rod.
• Remove any loose concrete, dirt, paint, or efflorescence. SURFACES MUST BE DRY for surface sealer to properly cure. If the area to be repaired is wet use a hair dryer/heating gun or oil-free compressed air to dry.
Surface Port Placement
• One injection port should be affixed to the wall centered over each leaking tire rod.
• Using separate mixing sticks, remove equal parts of surface seal Part A & Part B from jars onto a piece of cardboard, scrap wood, or paper plate. Only remove enough material that can be spread in 2–3 minutes. Mix for 30-seconds with the trowel, until the epoxy is uniform in color.
• Spread the surface sealer onto the base of the port using the trowel. DO NOT BLOCK OPENING OF PORT. Place the port onto the wall and cover the base with additional surface sealer to hold it in place. Attach additional ports to each tie rod in need of repair.
• Allow the surface sealer to cure for 30-60 minutes. Once the epoxy is “fingernail hard”, the injection process can begin.
Injection Procedure
• Place the urethane injection cartridge in your caulking gun. Cut off the tip of the cartridge with a utility knife.
• Screw the injection nozzle onto the threaded portion of the cartridge.
• Insert the cartridge nozzle directly into the injection port.
• Inject approximately 1–2 ounces of foam into each port, then cap the port.
• After expansion of the foam is complete (3-4 hours), you can knock off the ports and remove surface sealer.
III. Repairing Pipe Perforations
Surface Preparation
• Place a tarp, plastic sheeting, or drop cloth on the floor in the immediate work area.
• Remove any loose concrete, dirt, paint, or efflorescence. SURFACES MUST BE DRY for surface sealer to properly cure. If the area to be repaired is wet use a hair dryer/heating gun or oil-free compressed air to dry.
Surface Port Placement
• Injection ports should be place at a 45-degree angle as close to the pipe as possible. Each port base is pre-scored so that it can be folded back or cut off to allow placement at an angle next the pipe.
• Small pipes, 1” diameter, can typically be repaired using a single injection port placed directly below the pipe. Larger pipes should be repaired with 2 ports – one placed directly above, and one placed directly below the pipe.
• Using separate mixing sticks, remove equal parts of surface seal Part A & Part B from jars onto a piece of cardboard, scrap wood, or paper plate. Only remove enough material that can be spread in 2–3 minutes. Mix for 30-seconds with the trowel, until the epoxy is uniform in color.
• Spread the surface sealer onto the base of the port using the trowel. DO NOT BLOCK OPENING OF PORT. Cover the base with additional surface sealer to hold it in place. Attach additional ports to each tie rod in need of repair.
• Allow the surface sealer to cure for 30-60 minutes. Once the epoxy is “fingernail hard”, the injection process can begin.
• If the area has been previously patched or plugged and the repair material is stable, drill the hole(s) through the patch surrounding the pipe with a 1/4″ or 3/8″ drill bit. Place ports over the drilled holes.
Injection Procedure
• Place the urethane injection cartridge in your caulking gun. Cut off the tip of the cartridge with a utility knife.
• Screw the injection nozzle onto the threaded portion of the cartridge.
• Insert the cartridge nozzle directly into the lowest port.
• USING LOW PRESSURE, start injecting foam. Continue injecting slowly until urethane can be seen coming from the port above the pipe.
• Insert ports caps.
• After expansion of the foam is complete (3-4-hours), knock off the ports and if necessary, remove the surface seal with a chisel or grinder.
Storage: Use within one year of purchase. Store in a dry location at room temperature. Avoid freezing.
